Wednesday, March 28, 2012

Birds and Blossoms

Here's how I made the little cardboard bird and the paper cherry blossoms I showed you last time. This isn't exactly a tutorial. It's more of a "this is what I did, try it yourself" sort of thing. I'll start with the bird.

I was actually about to throw away some pieces of corrugated cardboard that had been included in with some scrapbooking paper, when I stopped to think. I'd been looking on Pinterest at pictures of birds, bird nests, and eggs, and I realized that the cardboard might make a good nest. Now, my cardboard was 2-layer corrugated cardboard--a flat layer and a bumpy layer. If you have the three-layer (flat-bumpy-flat) kind, you'll get a different look. It took me less than one 12x12 sheet of cardboard to make a nest and bird about 4 inches across.

I started by cutting a little circle for the nest base (about 2.5 inches) and strips for the nest sides. The ones you see here are about half an inch wide, but I wound up cutting them all in half.

Next, I braided some of the strips together until I had a strip a couple feet long. Once I thought it was long enough, I wrapped it into a circle and started poking the ends into the braid to make it stay. 


 I started wrapping more and more strips around, poking them in so they would stay. When I finished, I rolled up my last strip and put it in the bottom, right on top of the cardboard circle.

My original plan was to just make a nest, but I didn't have anything to put in it, and it looked kind of silly by itself, so I made a little bird to sit in the nest. I just drew a bird sort of shape, cut out 4 copies (to make it a bit thicker), cut a slit to put the tail shape, and hot-glued the wing shapes on. I also used a bit of chalk to color it a bit robin-like, but I'm not sure if that shows up much.

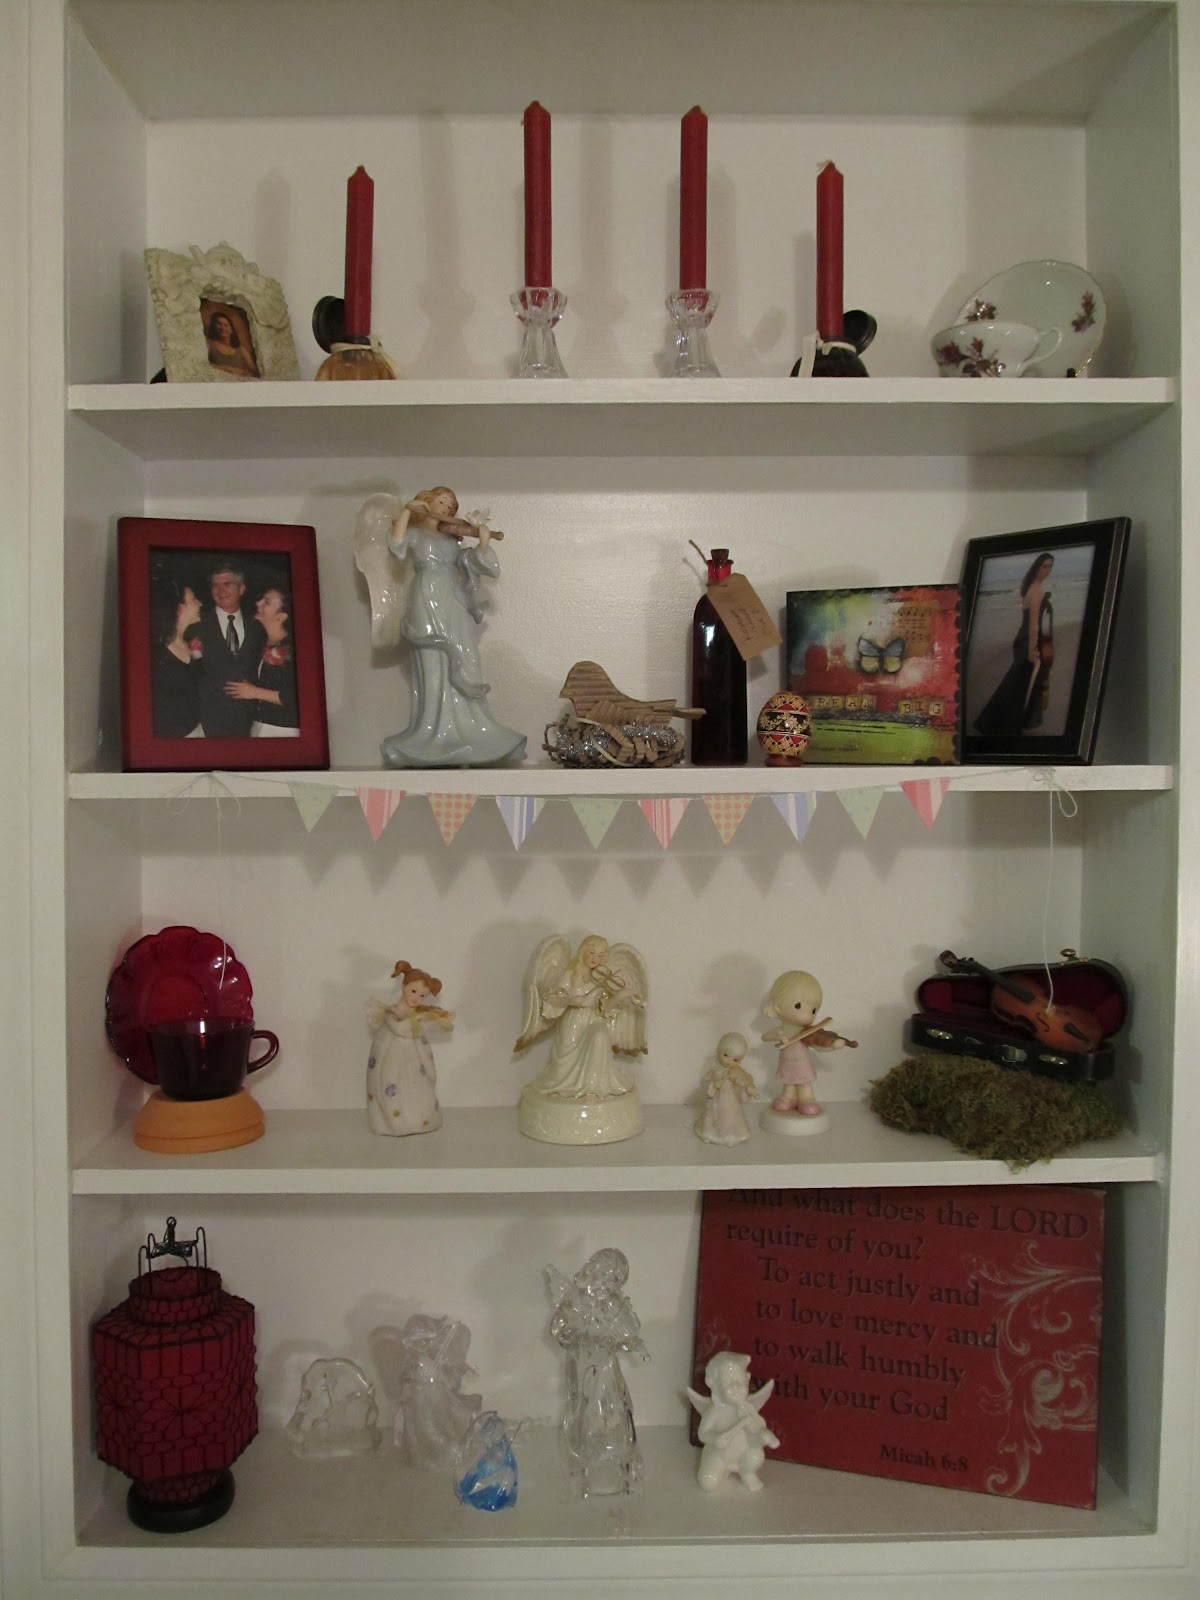
Before I glued the bird in, I decided the nest needed some color and sparkle to keep it from looking so drab beside the brightly colored bottle and the shiny angel, so I put some sparkly trim and some green ribbon into the nest, as well. I'm liking the way it turned out!


 These were the starting ingredients for the cherry blossom branches: some twigs that fell out of my oak tree, and some flowers punched from my paper scraps (the same paper as the bunting and paper balls). I fought with the twigs until they fit the vase and the shelf, then I punched about twenty bazillion flower shapes.

Next, I shaped the flowers. I tried making flowers with two layers and with three. I preferred the three-layer flowers, but I'm not sure it makes much difference when seeing them from a distance greater than about a foot. The bottom flower I lay flat, with the white side up. The second layer I just pinched all the petals so they pointed up (again, with the white side up). On the ones where I made a third layer, I did the same as the second layer, but then squashed the petals a bit, so they kind of pointed towards the center. You can sort of see how it works out here. I held them together by dabbing a bit of glue stick on the centers of the second and third layers before stacking them.


 Finally, I used a dab of hot glue to stick the flowers to the twigs. I used about 25-30 flowers here, but it would probably look even better with more. This was about the extent of my flower-punching hand strength, though. I'm really pleased with how these turned out, as well!

 I'll leave you with a photo of a real bird who decided to put her nest right up by my house! I don't feed the neighborhood ducks, as a rule (they can get scary), but this mama duck is going to be bribed with bread so she'll let me get near the babies!

Saturday, March 24, 2012

Decorating the Alcoves

I've redecorated the built-in bookcases in my living room a few times (you've seen several of those), but I have what was originally a phone nook in my hallway that hasn't been redecorated since a month after I moved into my house.  Usually, I have my violin-playing angels who are not white or clear in the nook, but I decided to move the whole violin angel collection to the living room shelves for spring, leaving the nook completely empty. Last time I showed you how I made the bunting and the first of the little paper balls. Today, I'll show you how I used it all.

First, I put the three mercury glass candlesticks I got on after-Christmas clearance into the phone nook. There was only room for a candle on the shortest one, so I had to figure out something else for the others. The tall pillar candle got the paper ball, I used some of the paper scraps from the bunting to make little flags (sewed them onto toothpicks), and I made a couple more paper balls after I found the glue stick. 


 The candle I wanted to use (an LED candle with a timer, so it turns on and off at the same time every evening) was too dark to go with this arrangement, so I tied a large-ish scrap of paper around it. It doesn't quite meet in the back, but you can't see, so no one can tell!
 Here's a better view of everything. If I had some sticky tack, I'd put it in the bottom of the taper holder to make the little flags stand up a bit better.
 Here's the shelves in the living room. They've gone through about six different incarnations, but I think this is how they'll stay, at least for a few weeks! The top and bottom shelves are just like they were. The next-to-bottom shelf has my violin angels that used to be in the phone nook, and the next-to-top shelf was the one that drove me nuts. I put one of the violin angels there, as well as a picture some students had given me (it's kind of hot pink and lime green), a red bottle, and a little bird on a nest I made on the spur of the moment.
The last shelf I'm showing you is the corner shelf in the living room. It's another one that drove me batty for a few weeks! I've left the bottom three shelves the way they were, added some ceramic birds to the next to top shelf, and finally figured out what to do with the top. I created some little cherry blossom branches!

Next time, I'll share how I made the bird and the flowers. They were originally going to be in this post, but it was getting pretty long already!


Wednesday, March 21, 2012

Spring Decorating

It's somewhat late, and I'm still in the throes of my annual Spring Break Cold (I must put it on my list to defeat that for next year), so I haven't gotten to do nearly as much stuff around the house as I'd wanted to, but I want to give you a quick peek at some of what I have actually gotten done. Remember that I'd wanted to use up some of my stocks of paper and beads?  Well, done and done! (Or, started and started.) 

I used some pastel papers to make miniature bunting for two shelves in my house, and then made paper balls from circles of the same paper. A bit of mint green crochet thread I've had for years was the string for the bunting, and, since I couldn't find my glue stick in the first two minutes of looking, I just sewed it all together on my sewing machine.


I set the stitch as wide as it would go, but not very long, so it would go across the string on each stitch. For the bunting, I just kept sewing until I reached the end.

The balls were a bit more difficult. I know there's a mathematical way to divide circles into equilateral triangles, but I couldn't remember it off the top of my head, so I just eyeballed the first one, then used it as a pattern to fold the other circles. Once I had all eight circles folded, I zig-zagged them together. Pretty simple, until I got to the last two seams. Those two had to be sewn a little further away from the fold line than I'd done the rest, but I figured that they could be the bottom of the sphere. After all, it has to rest somewhere, doesn't it?

I'll show you all how I used all these paper pretties later on.  Happy spring!

Friday, March 16, 2012

Hear Ye, Hear Ye!

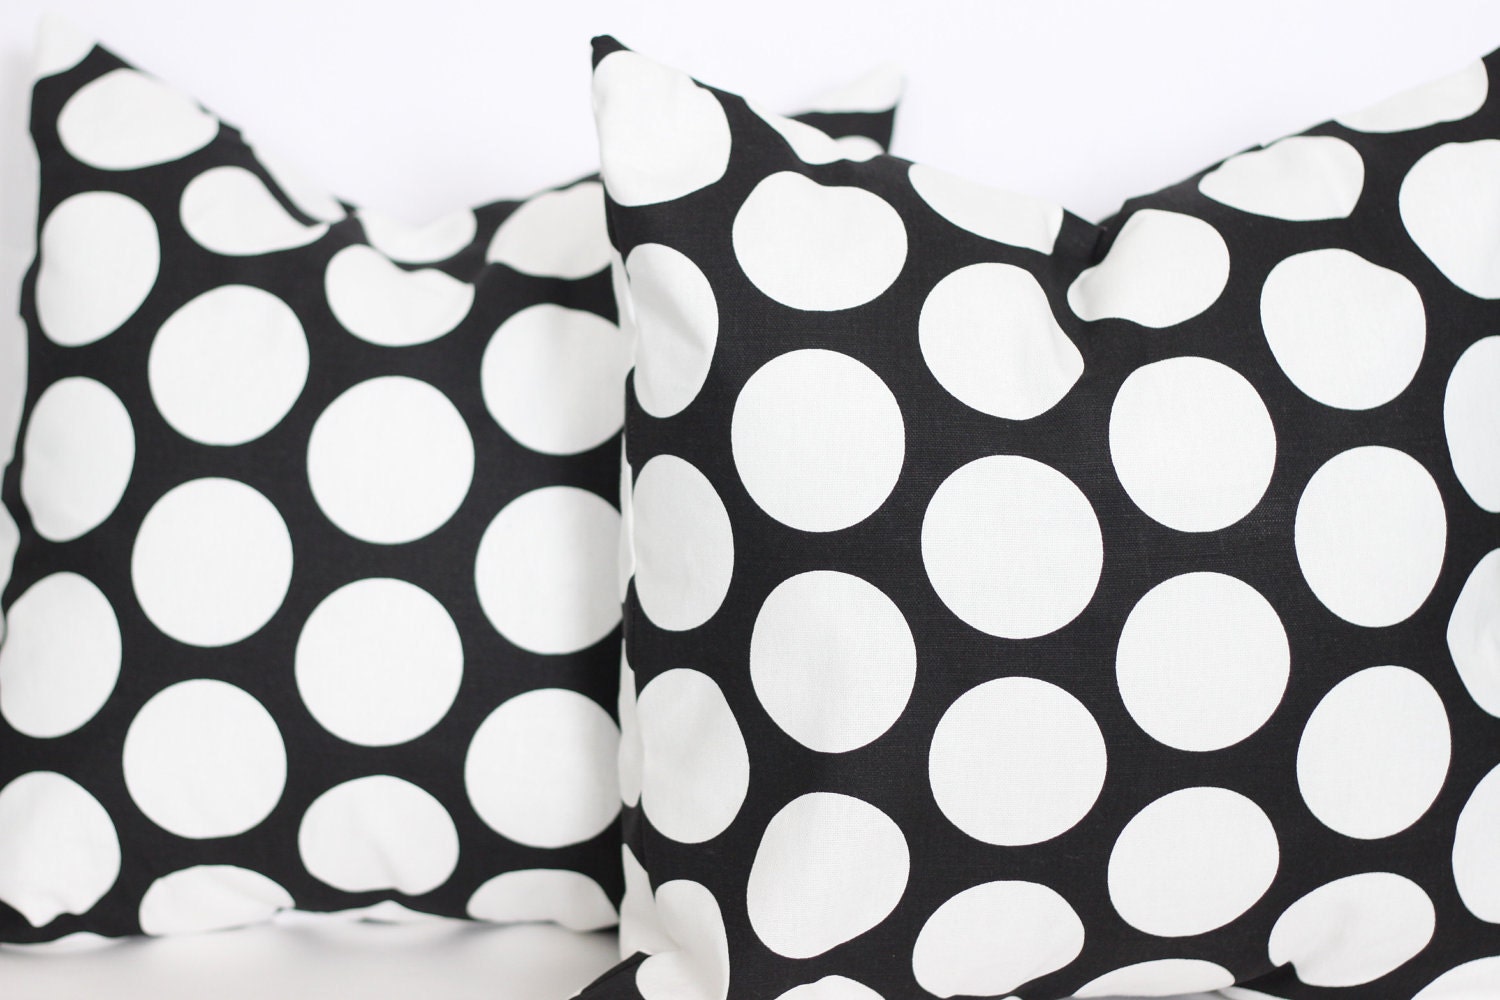
Okay, people; hie thee over to Living With Lindsay and take a look at her latest post. She's doing a giveaway of pillow covers from Modest Pillows. (Well, a store credit giveaway, but it works out to the same thing.) I don't normally wax eloquent about pillows, but these are good stuff. I wish more of the prints came in red, but that's my only criticism.

My living room was largely furnished by friends and family. The sofa, armchair, and coffee table are from a friend's mom who was moving to another state. The corner shelf was made by my great-grandfather. I did purchase the lamps (garage sale), the little cabinet (thrown in free when I bought a chest of drawers off Craigslist), and the console table/lamps (Black Friday sale at Home Depot, of all places). You can see the sofa, coffee table, and one of the lamps (aren't they cool?) in this photo, which was taken about a year ago, right after my birthday, which is the reason for all the cards on the shelf.

I love my living room, and the furniture is all very sturdy, very attractive, and in good shape. That said, however, the sofa and armchair are not really "my style" when it comes to decorating. I like somewhat delicate, reasonably ornate, and curvy or flowing shapes, and most of my rooms are decorated in red and black, with some metallic silver and gold thrown in to soften things up a bit. No orange anywhere, which is my least favorite color. The sofa and armchair are big, square, and brown (orange's close cousin). Pillows and blankets help a lot to unify things and make you not notice the brown so much!

Right now I'm looking at these covers, which would be amazing either in the living room or in the den. These other ones would be awesome in the den, to cover up the red-and-funny-green striped pillows that came with the red loveseat. Love the loveseat, but seriously think the pillows need to be another color!

One reason I'm so stoked about this Etsy store is because they don't sell pillows, they sell pillow covers. That means I don't have to find space in my little closets to store big fluffy pillows. If I wanted to trade out covers seasonally, they would probably fit even into my miniscule linen closet!

Well, I just got off on Spring Break (I love working in academia), so I will hopefully be able to post some pictures soon of the projects I've been working on. Some I'm really excited about! Others aren't working out as well as I'd hoped. Ah, well, life is a learning process!

By the way, don't forget about the bracelet giveaway over at The Next Obsession!

Sunday, March 11, 2012

Obsessive Giveaway

Yuni Kelley over at The Next Obsession is hosting a giveaway on her blog. The prize is a chunky gold chain bracelet from her Etsy shop, as well as a glittery pink nail polish. I like the ease of the way she has the entries set up! At any rate, I thought I'd share the giveaway with you here, even though I'd really like to win it myself. Good luck!

Saturday, March 10, 2012

New Look(s)

Fleur de lis of FlorenceI don't really like the brown-and-beige look of this blog; I had just selected that as the least offensive choice among the basic templates available on Blogger. However, I'm going to be trying out some different looks over the next few weeks. So if you come here and things look strange, don't just assume you've gotten a weird link. It's still me! That said, my tastes tend to be for rather...strong...looks. I'll try to keep the background from giving anyone headaches or any such thing, but please let me know if the current look is distracting, or headache-inducing, or just plain strange. Thank you!

Journey Update

I've made two necklaces this week, so I have progressed a little on the "Reduce Bead Stash" goal. Unfortunately, I've been too busy with work and social obligations to actually take photos of the necklaces. Hopefully that will happen soon. I have another busy week coming up at work, but the week after that is spring break! I'm hoping to use that time to get my house and yard ready for spring. I would really like to invite my great-aunt (an amazing crafter and decorator) over sometime in the next few weeks to show her my house and my lace pillow (the pillow on which I make bobbin lace, not a pillow made from lace). Now that I've talked about all this on the blog for God and everybody to see, I have to do it, right?